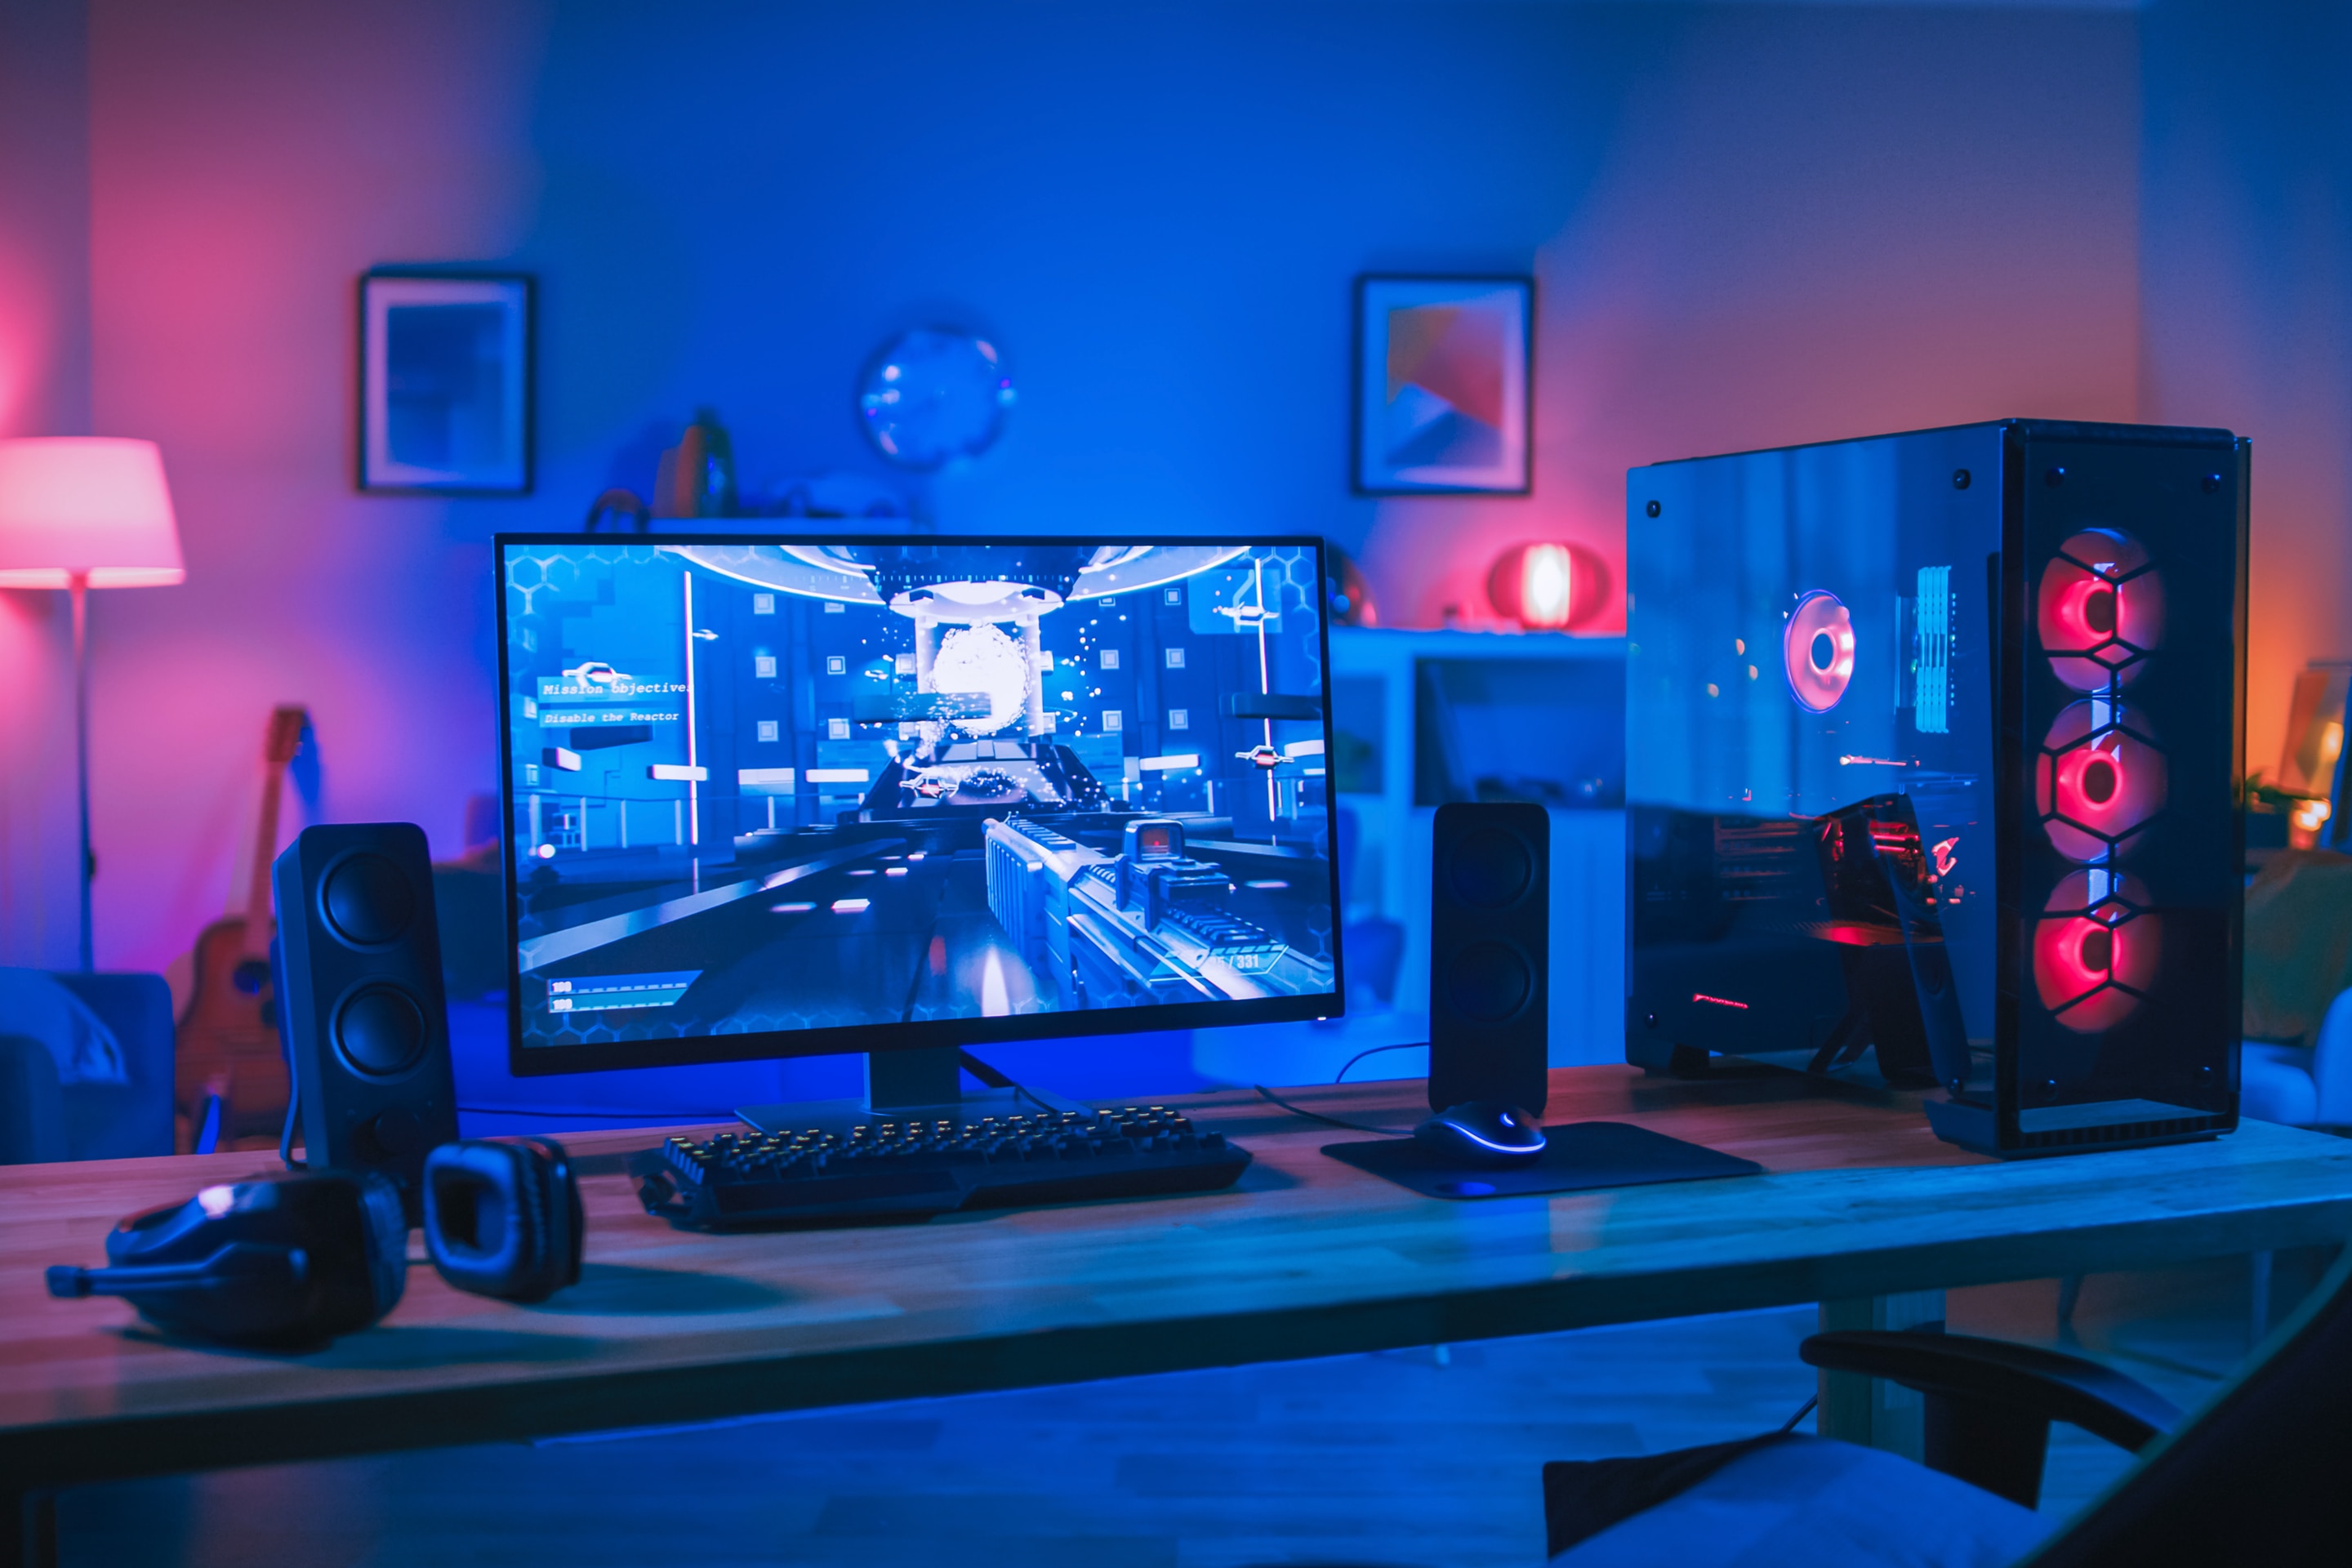
Building a gaming PC is a rewarding endeavor that allows you to customize a machine tailored to your specific gaming needs. Whether you’re aiming for top-tier performance or looking to save money by assembling your own rig, understanding the components and the process is crucial. Here’s a step-by-step guide on how to build a gaming PC.
1. Choosing the Right Components
Processor (CPU)
The CPU is the brain of your PC, handling all instructions and operations. For gaming, a multi-core processor with high clock speeds is ideal. Popular choices include the Intel Core i5 and i7 series, or AMD’s Ryzen 5 and Ryzen 7. When selecting a CPU, consider the games you plan to play, as some are more CPU-intensive than others.
Graphics Card (GPU)
The GPU is arguably the most critical component in a gaming PC. It’s responsible for rendering images and video, which directly affects gaming performance. NVIDIA’s GeForce RTX and AMD’s Radeon RX series are top choices. Ensure that your GPU can handle the resolution and refresh rates you desire, especially if you plan to play in 4K or with high frame rates.
Memory (RAM)
RAM allows your PC to store and quickly access data that’s being used. For gaming, 16GB of DDR4 RAM is the sweet spot, offering enough memory for most modern games without breaking the bank. If you’re into heavy multitasking or memory-hungry applications, consider 32GB.
Storage (SSD and HDD)
An SSD (Solid State Drive) significantly improves load times and overall system responsiveness. A 500GB or 1TB SSD is recommended for your operating system and most-used games, while a larger HDD (Hard Disk Drive) can be used for mass storage of files and less frequently played games.
Motherboard
The motherboard is the backbone of your PC, connecting all components. Ensure compatibility with your CPU and RAM, and check that it has enough slots and ports for your GPU, storage, and any peripherals. Features like built-in Wi-Fi, RGB lighting, and high-quality audio can also influence your choice.
Power Supply Unit (PSU)
A reliable PSU is essential for powering your components. Calculate your system’s power needs using an online PSU calculator and add a buffer to ensure stability. Opt for a PSU from a reputable brand with an 80 Plus certification, which guarantees efficiency and reliability.
Case
The PC case houses all your components. It should offer ample space for your hardware, good airflow, and easy cable management. Cases come in various sizes (ATX, Micro-ATX, Mini-ITX), so ensure yours fits your chosen motherboard and GPU. Consider aesthetics, cooling options, and noise levels when selecting a case.
Cooling System
Maintaining optimal temperatures is vital for performance and longevity. Most CPUs come with a stock cooler, but for overclocking or quieter operation, consider an aftermarket air cooler or an all-in-one (AIO) liquid cooler. Ensure your case has enough fans and proper airflow to keep components cool.
2. Assembling Your PC
Preparing the Case
Start by preparing your case. Remove the side panels and any internal packaging. Organize the cables and pre-install case fans if necessary. Ensure that the case is free of dust and debris.
Installing the Motherboard
Carefully place the motherboard into the case, aligning it with the standoff screws. Secure the motherboard in place with screws, ensuring it’s firmly attached but not overtightened.
Installing the CPU and Cooler
Install the CPU into the motherboard’s socket, ensuring proper alignment with the marked corner. Secure it by lowering the retention arm. Apply a small amount of thermal paste to the CPU’s center, then attach the cooler according to the manufacturer’s instructions. Ensure the cooler’s fan is connected to the correct header on the motherboard.
Installing RAM
Insert the RAM sticks into the appropriate slots on the motherboard, pressing down firmly until they click into place. Consult the motherboard manual for the correct slots if you’re not filling all available slots.
Installing the GPU
Locate the PCIe slot on your motherboard and remove the corresponding case bracket. Carefully insert the GPU into the slot, ensuring it’s fully seated. Secure it with screws to the case and connect any necessary power cables from the PSU.
Connecting Storage Devices
Mount your SSD and HDD in the designated bays within the case. Connect them to the motherboard using SATA cables and to the PSU for power. If using an M.2 SSD, it will slot directly into the motherboard.
Connecting the PSU
Route the PSU cables through the case and connect them to the motherboard, GPU, storage devices, and any other components requiring power. Ensure cables are securely connected and well-managed to promote airflow.
3. Final Steps and Booting Up
Double-Check Connections
Before closing the case, double-check all connections. Ensure the CPU cooler is properly installed, all components are secured, and cables are neatly managed to avoid obstructing airflow.
Booting Up
Connect your monitor, keyboard, and mouse to the PC. Plug in the power cable and turn on the PSU. Press the power button on your case, and if everything is connected correctly, your PC should boot up. Enter the BIOS to check that all components are recognized and to set your boot drive.
Installing the Operating System
Insert your operating system installation media (such as a USB drive) and follow the on-screen instructions to install the OS. Once installed, update your drivers, particularly for the GPU, to ensure optimal performance.
Conclusion
Building a gaming PC is a gratifying experience that combines technical skill with personal customization. By carefully selecting your components and following the assembly steps, you’ll create a machine that’s not only powerful but also tailored to your gaming preferences. Whether you’re aiming for high-performance gaming or simply a reliable system, the effort put into building your PC will pay off in an unparalleled gaming experience.